To take my make-up off, I use the Little Green Wood make-up remover pads and coconut oil, which works really well for my skin. However, I get through quite a few of these, and so I wanted to see whether I could make them myself. I happened to have an old towelling dressing gown and some soft green felt, so I decided to use those materials so that they wouldn’t go to waste. I chose square pads to match the ones I already have, but you can do circles if you wish. Much to my surprise, this experiment worked really well, they wash fine and they look really cute. So, here is how I made them!
You will need:
- Towelling fabric (like flannels, towels, dressing gowns etc, preferably on the softer side)
- A soft fabric (anything relatively thin and soft will do)
- A sewing machine (these can be hand sewn, but they may not be as sturdy or washing machine proof)
- Thread (to match your two fabrics)
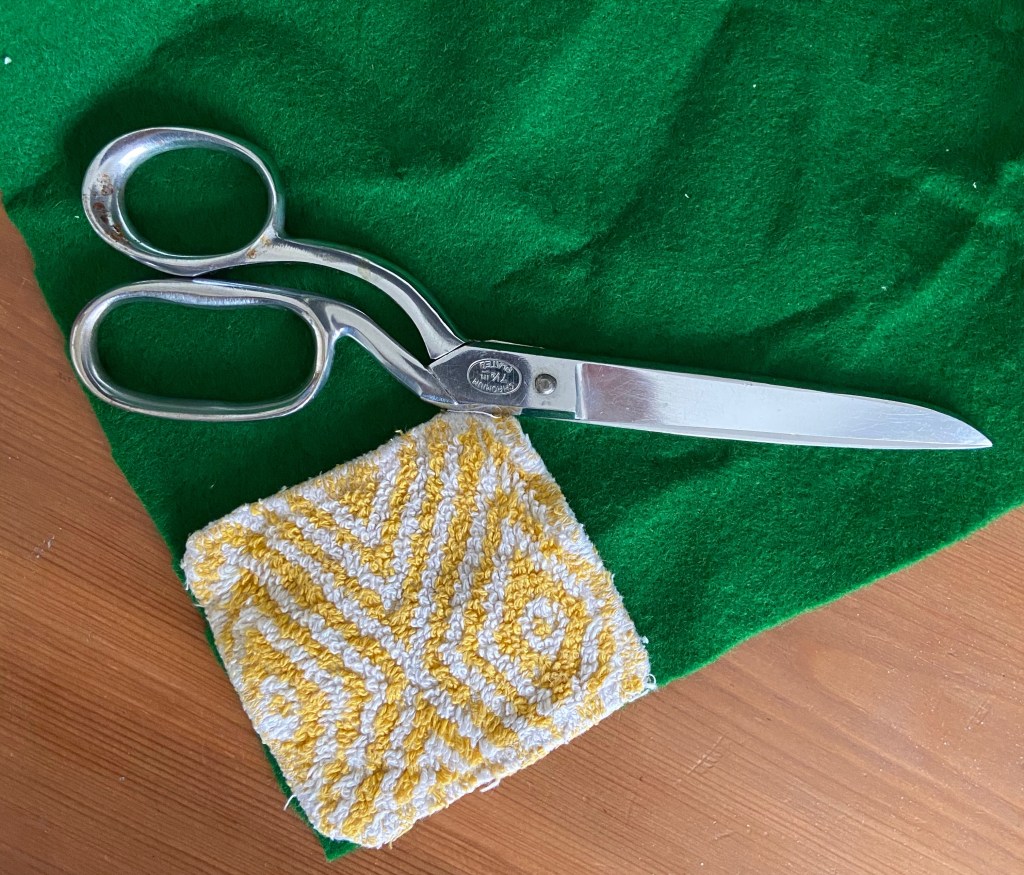
- Scissors
- Pins
- Template (I did mine freehand because I wasn’t too bothered about size or shape, but if you’re a stickler for measurements, then this is a good idea)
Method:
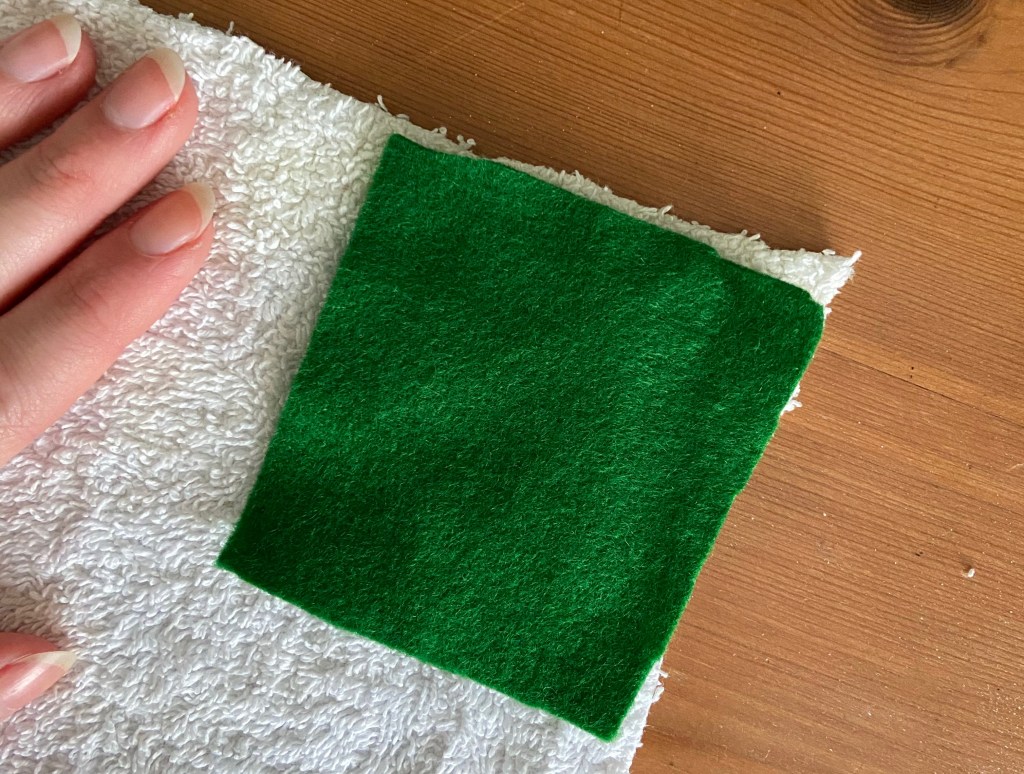
- Get your template. You could use a piece of cardboard cut to the shape you want, or if you’re recreating pads you already have, then trace around that. Once you’ve got a template, trace around this on both pieces of fabric. Make sure that they are roughly the same size!
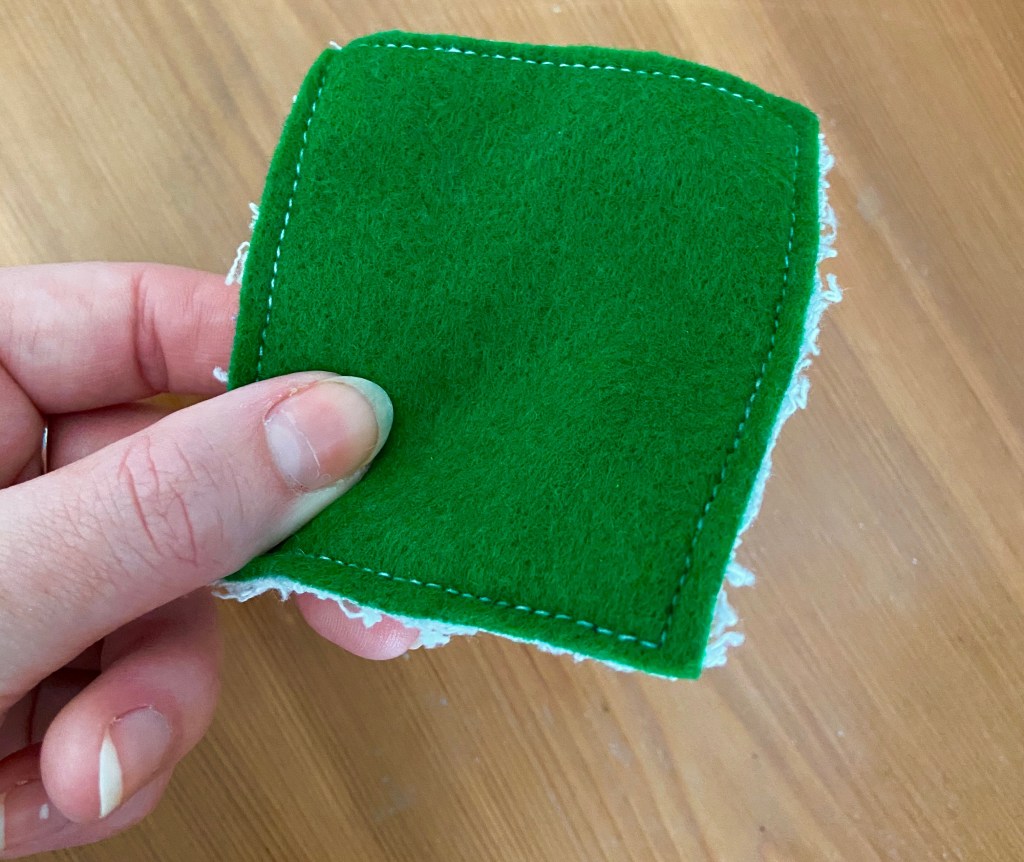
- Cut out your pieces, and match the two fabrics together. Once you’re happy with how the edges align, put a couple of pins through to secure them.
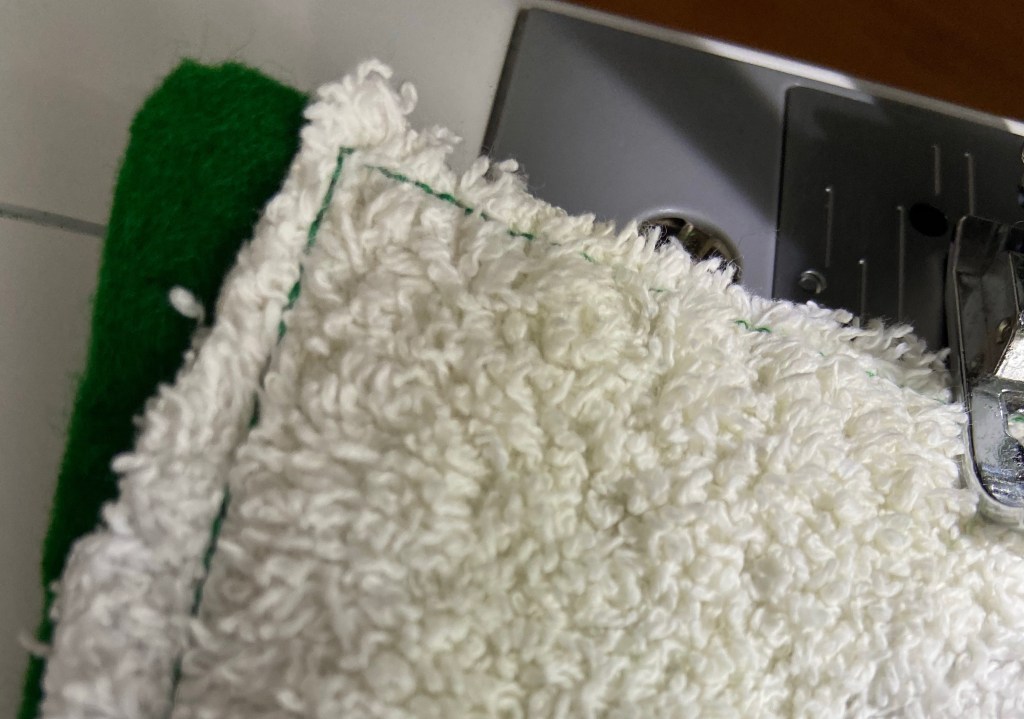
- Set up your sewing machine. I did my pads with contrasting thread (as pictured), but if you’re not confident sewing straight lines, then maybe choose thread that is the same colour as your materials.
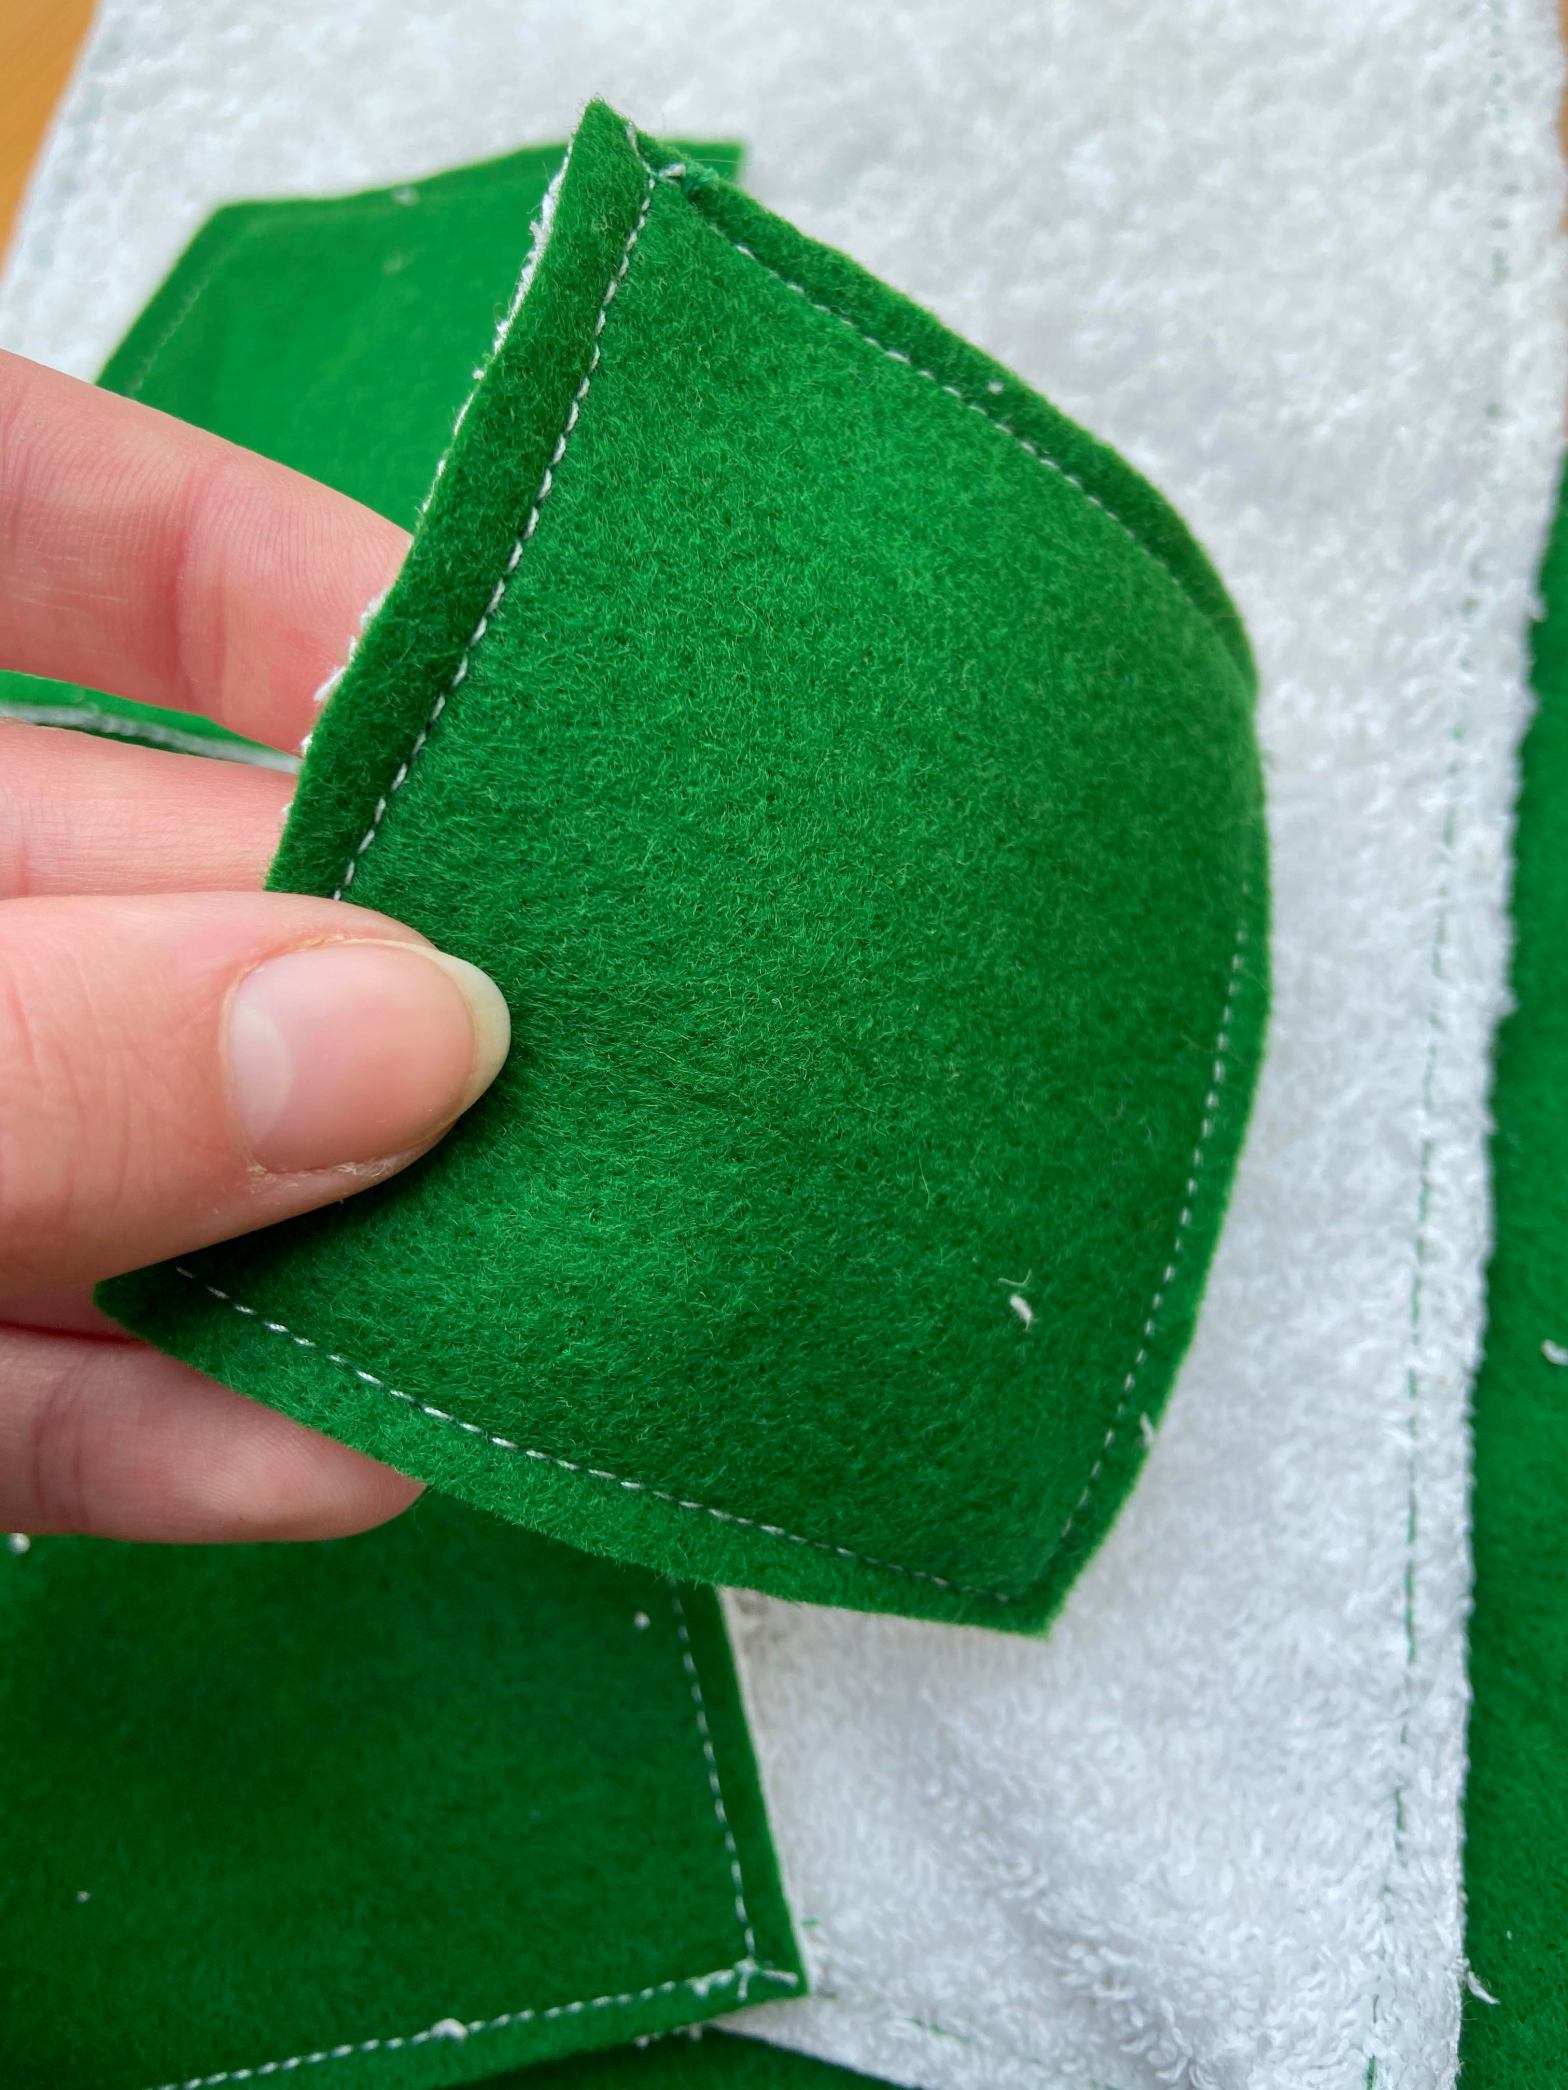
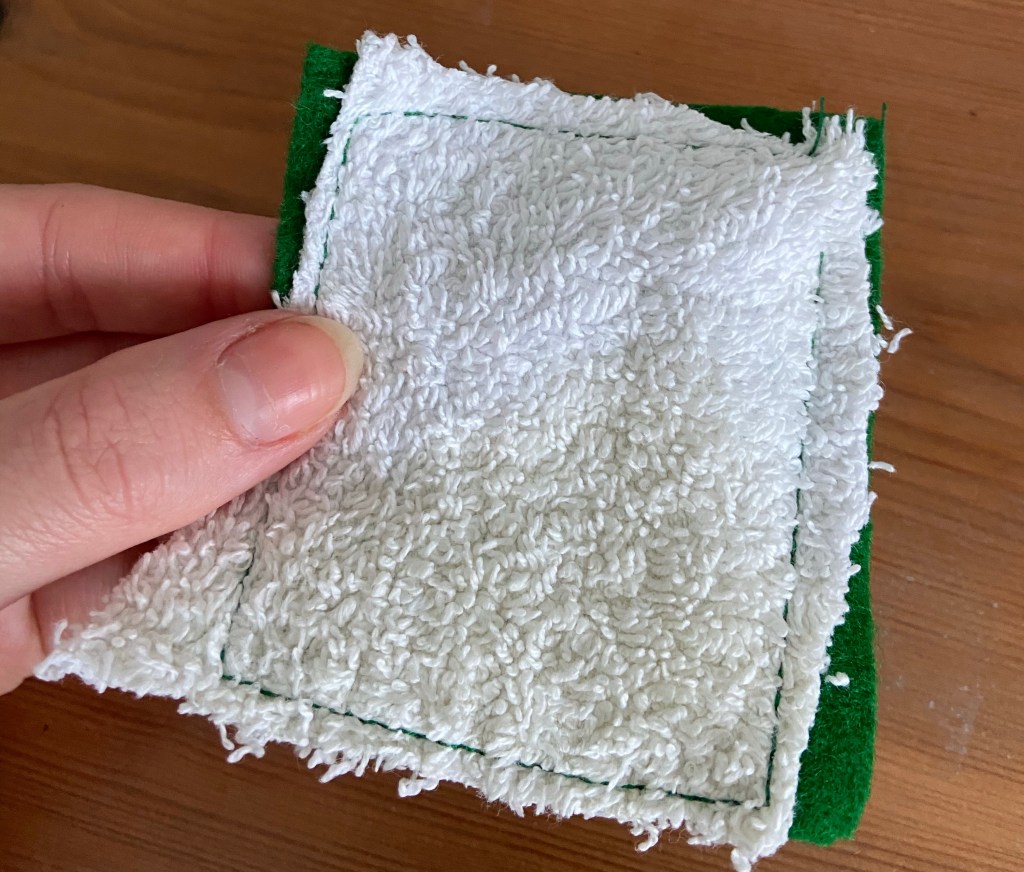
- Sew straight lines down all four sides of your pads (or around the edge if you are doing circles).
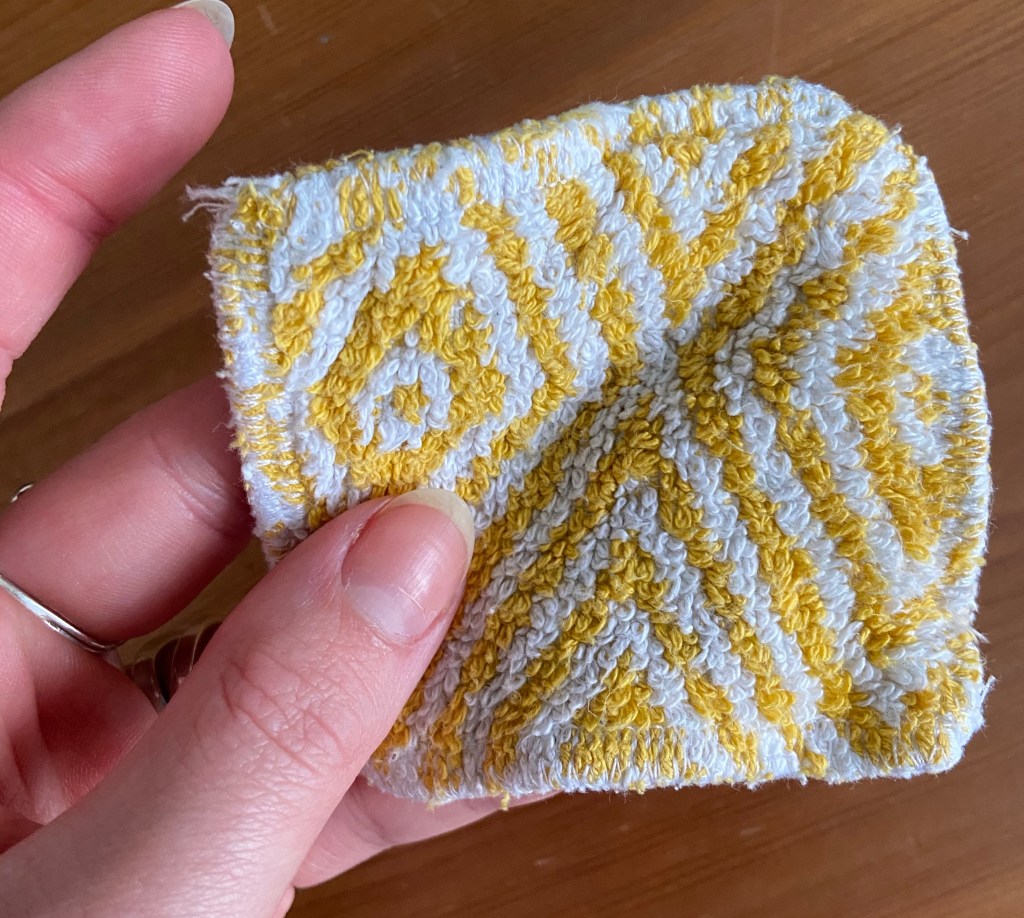
- Finally, cut around the edges until they are even. For me, this was really crucial, because the fabric tended to bunch up when sewn – if this isn’t a problem for you, then you may not need to cut around the edges.
Method in pictures:
That’s it! I’d recommend testing one out before you make large numbers, and possibly putting it through the wash just to be safe (especially if it is hand sewn!). But, hopefully this is a nice way to use up any fabric you have. Because this is a little bit more technically tricky, please comment if you have any questions, or DM me, and I’ll try to help as best I can. I’ve also posted an IGTV tutorial for this on my Instagram if that’s helpful. Thanks for reading!
